WELCOME!!

Thank you so much for taking the time to look at my blog! You really do not understand how much I appreciate it. If you have any questions/suggestions/or if you just want to say hi, PLEASE send me an email!! My email address is tmc089@hotmail.com and I LOVE getting emails, especially bloggy-related ones :D!

Saturday, March 28, 2009

Pretty Neutral Look Tutorial


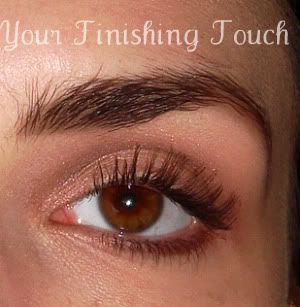
Hey everyone!! Today I'll be doing my first tutorial on a really pretty brown neutral look. It can be worn just about anywhere and can work with all eye colors.
This is a good look for beginners since it's hard to get browns muddy when blending!
____________________________________________
Products Used:
MAC PAINTERLY Paint Pot
L'oreal HiP Shadow Duos in SAUCY and ADVENTUROUS
Revlon Colorstay Eyeshadow in CHAMPAGNE
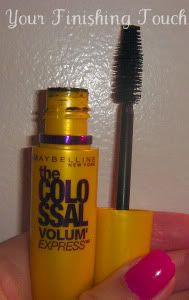
Maybelline Colossal Volum' Express in GLAM BLACK
MAC Eyebrows in SPIKED
Bonnebell lipLites Gloss in MOCHO MOUSSE
MAC 239 Eye Shader Brush
MAC 226 Small Tapered Blending Brush
MAC 213 Fluff Brush
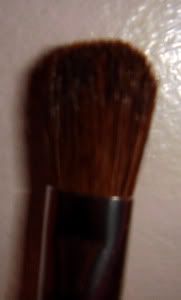
The Body Shop Eyeshadow Brush
MAC 266 Small Angle Brush
MAC 266SE Special Edition Small Angle Brush
____________________________________________

I always put on my foundation, powders, blushes, etc. before I do my eye makeup. I know some people do it the other way around, but that is what works best for me since I rarely get fallout.

-Apply a base all over your eye area if desired. I used MAC Painterly Paint Pot applied with the MAC 239 brush.
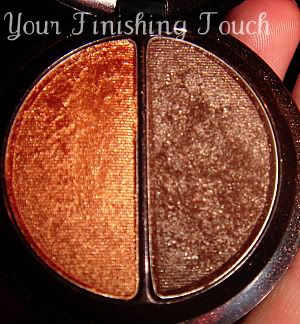
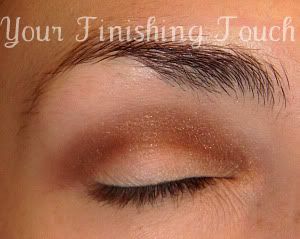
-In your crease area, apply the dark brown shade from the L'oreal HiP Eyeshadow in SAUCY, as shown below. Apply this color with a tapered brush that is meant for working the crease area, like the MAC 226.

-If any excess shadow gets on your lid, brow bone, or outside of the eye area, clean it up with your finger.
-Next, apply the brown shade from the L'oreal HiP Duo in ADVENTUROUS all over you lid with a fluffy application brush, like the MAC 213. You can use any eyeshadow appliation brush for this.
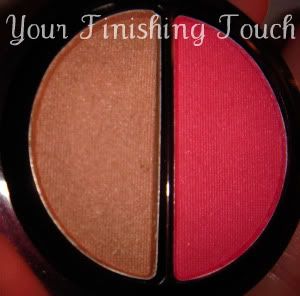
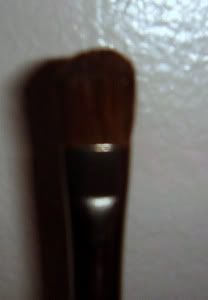
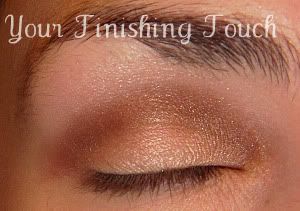
-To highlight your brow bone, use a light shimmery brown. I used Revlon's Colorstay eyeshadow in CHAMPAGNE. Appy this with another eyeshadow brush different than what you applied other colors with as to not wash out the color. I used the Eyeshadow Brush by The Body Shop.
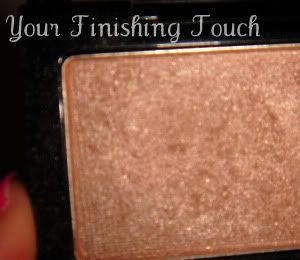
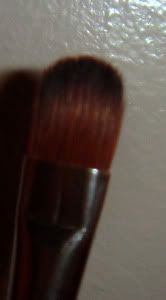
I didn't include a picture of this because it's very subtle, but it definitely makes a difference. 
-Next, if desired, take an angled brush like the MAC 266 and apply the same color as your crease (Dark brown) as a liner underneath your lower lashes.
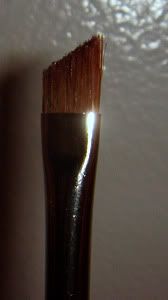
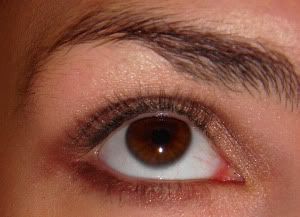
-If desired, fill in your brows. I personally use MAC Eyebrows in SPIKED. Be sure to blend it out with a different angled brush like the MAC 266SE. Apply black mascara to the bottom then top lashes. I used Maybelline Colossal Volum' Express in GLAM BLACK. 

-Be sure to blend everything with a large fluffy brush. I use one I got from WalMart, it came in a 10 piece brush kit.
-Finish off the look with lipgloss that has brown undertones. I used Bonnebell lipLites Gloss in MOCHO MOUSSE over some Chapstick.
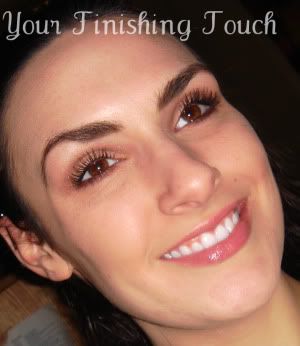

That's it! If you have any questions at all please comment and ask, I'll get to it as fast as I can. Feedback about the actual tutorial is welcome too :). Hope everyone is having a great weekend!

Tuesday, March 24, 2009

I'm still alive!!

Hey everyone, sorry for not being around much lately!! Right now I'm at my house rather than my dorm, we're on spring break. I also forgot my camera cord at my dorm, so I can't upload any pics!! But I'm hoping to do some FOTD tutorials, and a few reviews, including one on the AMAZING GHD Styler IV! It's so incredible, trust me!!

If anyone has requests of looks/colors/reviews or questions/issues with the blog, please let me know!

Tuesday, March 17, 2009

Happy St. Patrick's Day!!!


Hey all!!

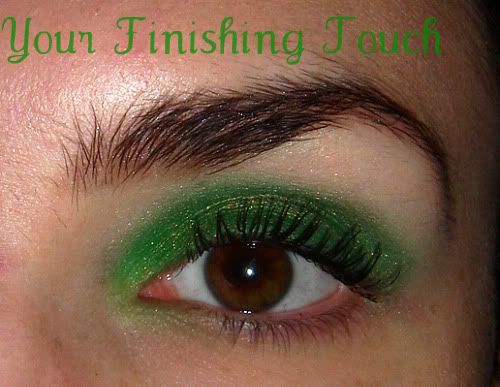
Tuesdays are always super busy for me, but I woke up a few minutes early (Actually I woke up before my alarm went off, weirdd!) to do a green eye look.

I didn't do any practice beforehand to see how this green would show up, and it was super bright green at first, but then I put some of MAC's Brightside/Gallery Gal over it to soften it up. The picture looks really harsh as far as colors go, it really isn't THAT bright. In my opinion this picture does no justice at all lol, just came out crappy.


The green is from the 120 palette, I also used a really light sparkly yellow as a highlight. Hope everyone has a great day, be safe tonight!!

Saturday, March 14, 2009

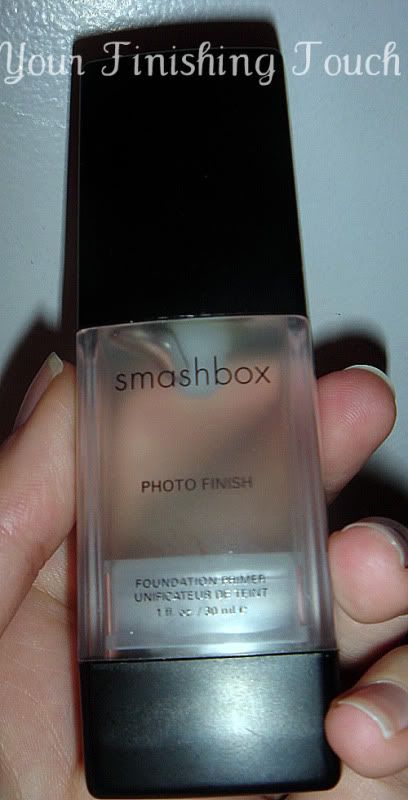
Smashbox Photo Finish Primers Review


"Create a perfect canvas for foundation application with this silky, lightweight blend of vitamins A & E, grape seed extract and green tea. Worn alone or under foundation to increase its longevity, our best-selling primer helps to reduce the appearance of fine lines and pores for flawless skin with a velvety-smooth finish. In a new square airless pump for freshness to the last drop."


I got Smashbox Photofinish Primer as a gift in a previous beauty exchange via The Purse Forum, and I instantly fell in love with it. For a while, I only used it for special occasions when I really needed my makeup to pull through and stay on all night, and daily I'd use Monistat Chafing Gel, which is a great alternative. I wouldn't call it a substitute though. At first they felt so similar, but after using Monistat for so long then switching to smashbox, I have found a new love for this stuff! What I really like about it is the instant gratification. Right when you apply it, you get a clean, smooth canvas to apply your makeup.

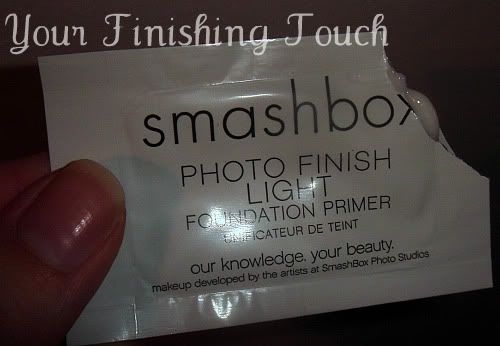
"Our latest primer innovation! Our new oil-free, 60% water based primer is ideal for oily, acne-prone or sensitive skin. This silky blend of vitamins and antioxidants helps to reduce the appearance of fine lines and pores for visibly softer skin and can be worn alone or under foundation to increase its longevity. The revolutionary formula has oil absorbers for a smooth matte finish all day, light diffusers to minimize the appearance of imperfections, and vitamin C and peptides to help even skin tone and promote collagen production for a flawless future. In a new square airless pump for freshness to the last drop."


Now, smashbox Photofinish Light Primer. I just got a sample the other day from the lovely Jen over at A Beautyful Sentiment. I really like this stuff too!! I'm pretty sure the difference is that the Light formula has more of a water base in it, and made more for oily skin types. I have combination skin, and I used the Light primer this morning. I had a busy day, helping my mom move, and my makeup stayed in place all day long.

The only con about Photofinish Light is that it doesn't offer that instant gratification for me. It's really not a big deal, I let it sit for a few seconds on my skin and I got that silky smooth skin I got with regular Photofishish. I would give both of these formulas 5 out of 5 stars.

PhotobucketPhotobucketPhotobucketPhotobucketPhotobucket

PS!! Can anyone tell me if anything is...like wrong with my page?? Lol, Miss Holly left me a comment on my last post saying some of my links weren't working and that she wasn't seeing my updates in her Dashboard (I'm pretty sure that's what she meant!)  So if anyone has any issues, please let me know! THANK YOU!!!


Just an update!

Oh, hey. Lol. Just giving a quick update...school has pretty much been consuming my life lately, it suuucks!! 

Hopefully I'll have a few reviews this weekend, including Nice Kitty lipglass from the HK collection thanks to the AMAZING Jen from A Beautyful Sentiment!!! It's SUCH a gorgeous pink color, very fresh and pretty. 

I also might be doing a Fix+ review and maybe some FOTDs? We'll see what happens lol. 

But today I'm helping Momma move into her brand new condo, we're both so excited lol. Hopefully reviews either tonight or tomorrow!

Saturday, March 7, 2009

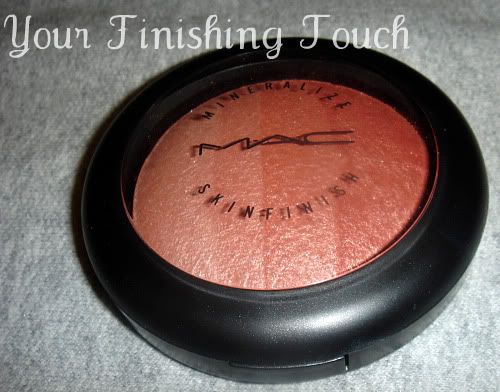
MAC Brunette Minearlize Skin Finish Review


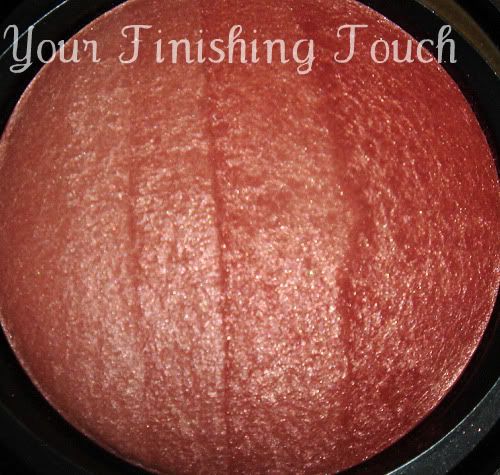
"Limited-edition Mineralize Skinfinish specially created for the Brunette Blonde Redhead Collection. Each offers a colourwave of four shimmering shades in a range of light to dark. Use all over the face to create a low/sheer luminous finish or apply in tones of light and/or dark to highlight, contour or add dimension to eyes, cheeks or brows."


So, this was my first MSF (Mineralize SkinFinish) ever, and I definitely think I made the right choice. I'm kindof a paler brunette, so I was torn between getting this or the blonde for kindof a softer look, but I'm happy with getting Brunette. 


MAC describes the 4 colors as "Soft coral to copper bronze degrad," and for once I actually agree, lol. Usually I always add something more to their descriptions but that is pretty right on. Each shade is a nice brown tone, you could even use them as eyeshadows. I put this all over my face today for a soft glow and you could definitely see the difference, in a good way. I used the 2 lighter colors closer to my hairline and above my eyebrows, then the darker colors I swept over my T zone and cheeks, and it just looked very healthy. I put some Fix+ spray (ooh, I should review that too!) over it and I looked like a beached babe! (Sorta. teehee)


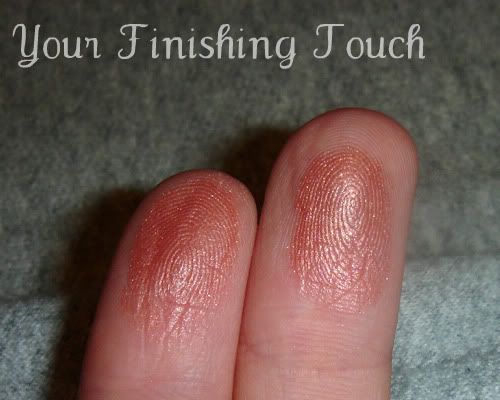
The right finger is more the lighter shades, and the left is concentrated on the darker. I really like this stuff because it has both cool and warm shades, and they work great together. The BBR MSF (Blonde, Brunette, Redhead Mineralize SkinFinishes...phew!!) are being discontinued, so if you were torn on getting any, I would. It'll last you a long time and has many many uses.
4.5 out of 5 stars.
PhotobucketPhotobucketPhotobucketPhotobucketPhotobucket

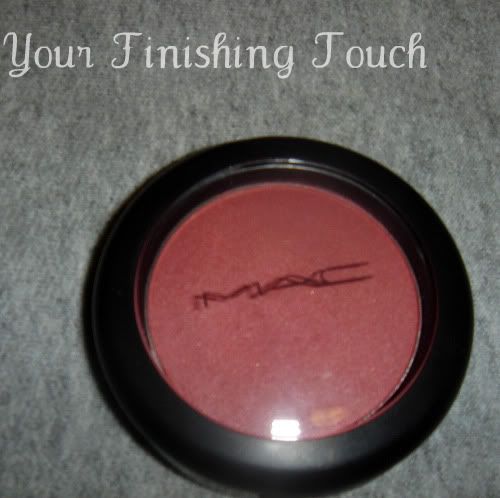
MAC Peachykeen Blush Review


"Colour for the cheeks and face. Various formulas. Different looks."


I'm kindof on a blush/face powder kick lately, so last time I was at the MAC counter I picked this blush up. Normally I'm really cautious as far as blushes go, but this color looked SO fresh and pretty. 
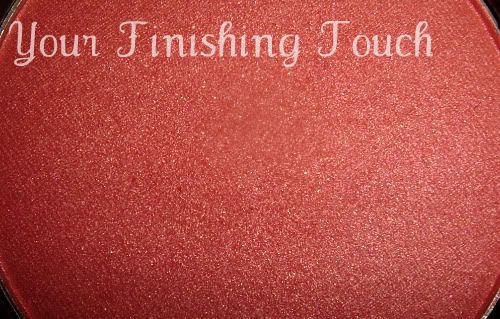
The forumla of Peachykeen is called Sheertone Shimmer, which is described as "Jet-milled and micro-fine, just like Sheertone, but tickled with just-enough shimmer to make light dance on the cheeks." It mentions Sheertone in that description, so because I love you all SO much, here's the description of Sheertone: "Shy-on tints in a sheer-on micro-refined powder. Not transparent. Goes on faint. Looks real."


I really like this blush. A great amount of color gets picked up on your brush, and it's pretty blendable. I wouldn't say it's as blendable as the Minearlize Blush MAC offers...I would say this stuff is a bit thicker if that makes sense. As far as this specific color, Peachykeen, goes, it's described by MAC as "very baby peach." For me personally and on my computer, the website swatch looks WAY washed out and dull. In real life, I would say it's peach with a dab of pink and gold shimmer. For my skin, it gives me a great start of spring look, I even got complemented on my complexion by my roommates BF today!! Don't know if that's a good or bad thing...but regardless, it happened, lol.


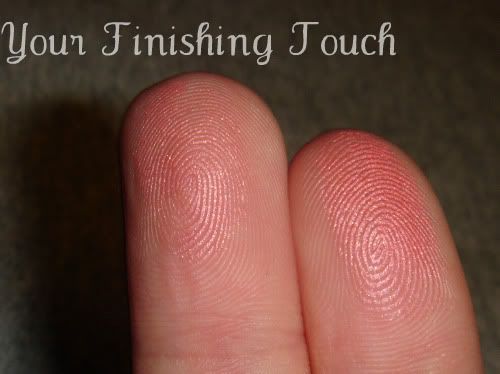
The left finger has color payout after I gently swiped over the blush, and the right is me rubbing it in the blush pretty good, just to show the intensities. This blush will definitely be in my normal rotation. It makes my skin very fresh looking.
4 out of 5 stars.

PhotobucketPhotobucketPhotobucketPhotobucket