Hey everyone!! Today I'll be doing my first tutorial on a really pretty brown neutral look. It can be worn just about anywhere and can work with all eye colors.
This is a good look for beginners since it's hard to get browns muddy when blending!
____________________________________________
Products Used:
MAC PAINTERLY Paint Pot
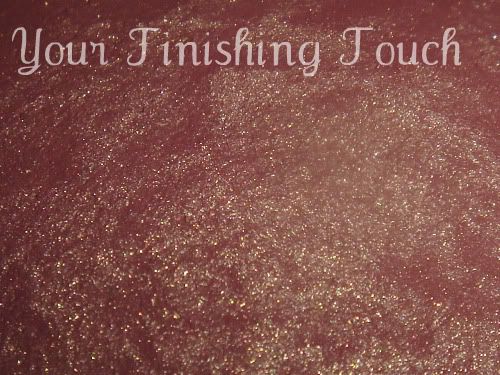
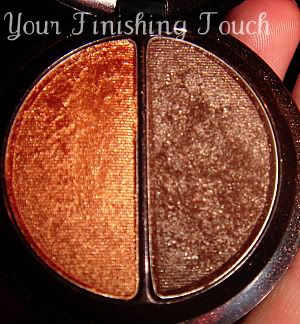
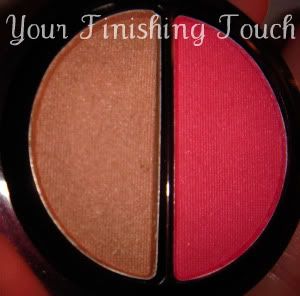
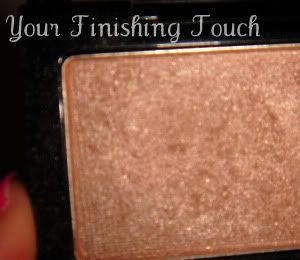
L'oreal HiP Shadow Duos in SAUCY and ADVENTUROUS
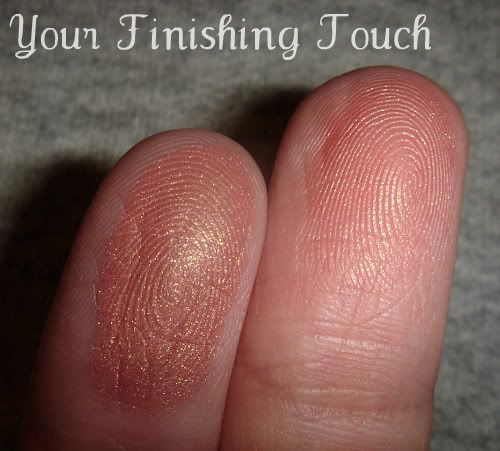
Revlon Colorstay Eyeshadow in CHAMPAGNE
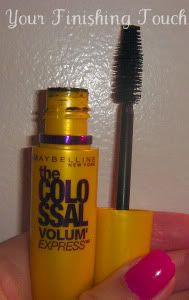
Maybelline Colossal Volum' Express in GLAM BLACK
MAC Eyebrows in SPIKED
Bonnebell lipLites Gloss in MOCHO MOUSSE
MAC 239 Eye Shader Brush
MAC 226 Small Tapered Blending Brush
MAC 213 Fluff Brush
The Body Shop Eyeshadow Brush
MAC 266 Small Angle Brush
MAC 266SE Special Edition Small Angle Brush
____________________________________________
I always put on my foundation, powders, blushes, etc. before I do my eye makeup. I know some people do it the other way around, but that is what works best for me since I rarely get fallout.
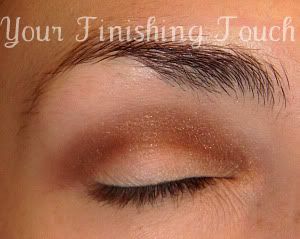
-Apply a base all over your eye area if desired. I used MAC Painterly Paint Pot applied with the MAC 239 brush.
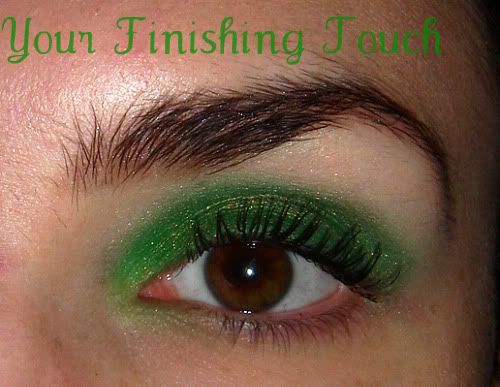
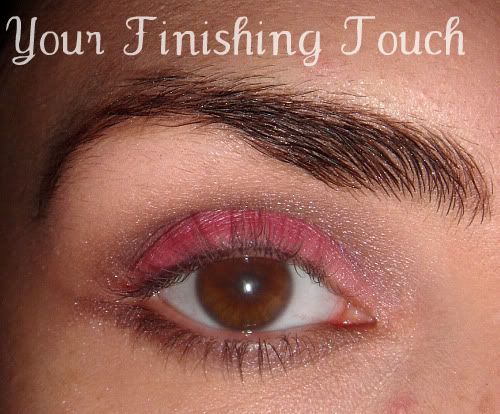
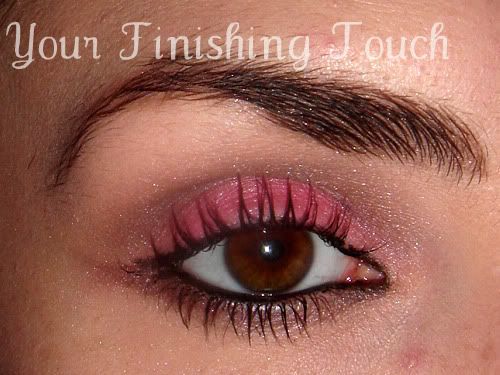
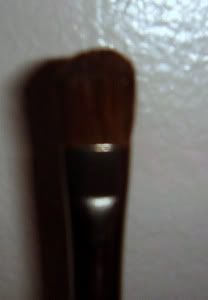
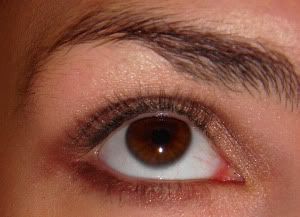
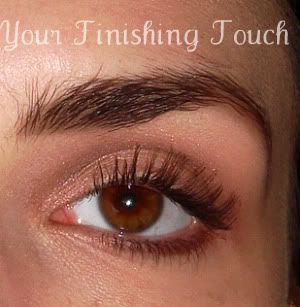
-In your crease area, apply the dark brown shade from the L'oreal HiP Eyeshadow in SAUCY, as shown below. Apply this color with a tapered brush that is meant for working the crease area, like the MAC 226.

-If any excess shadow gets on your lid, brow bone, or outside of the eye area, clean it up with your finger.
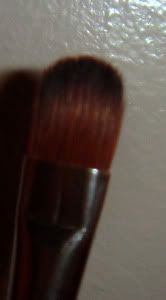
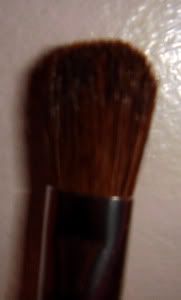
-Next, apply the brown shade from the L'oreal HiP Duo in ADVENTUROUS all over you lid with a fluffy application brush, like the MAC 213. You can use any eyeshadow appliation brush for this.
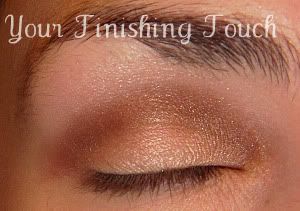
-To highlight your brow bone, use a light shimmery brown. I used Revlon's Colorstay eyeshadow in CHAMPAGNE. Appy this with another eyeshadow brush different than what you applied other colors with as to not wash out the color. I used the Eyeshadow Brush by The Body Shop.
I didn't include a picture of this because it's very subtle, but it definitely makes a difference.
-Next, if desired, take an angled brush like the MAC 266 and apply the same color as your crease (Dark brown) as a liner underneath your lower lashes.
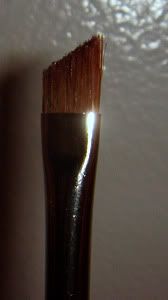
-If desired, fill in your brows. I personally use MAC Eyebrows in SPIKED. Be sure to blend it out with a different angled brush like the MAC 266SE. Apply black mascara to the bottom then top lashes. I used Maybelline Colossal Volum' Express in GLAM BLACK.
-Be sure to blend everything with a large fluffy brush. I use one I got from WalMart, it came in a 10 piece brush kit.
-Finish off the look with lipgloss that has brown undertones. I used Bonnebell lipLites Gloss in MOCHO MOUSSE over some Chapstick.
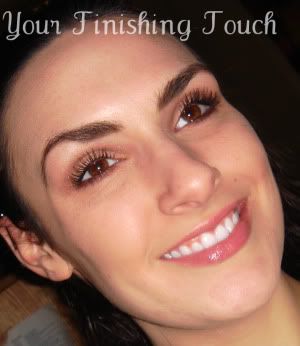
That's it! If you have any questions at all please comment and ask, I'll get to it as fast as I can. Feedback about the actual tutorial is welcome too :). Hope everyone is having a great weekend!